Learning from my mistakes....


Ho hum readers....I'm sure no-one (at least, those who know me) is under any illusion about the sewing mistakes I sometimes make and this dress is one of them. I'm not afraid of admitting my mistakes however and I can only hope to learn from them.

I used the Colette Peony pattern for this dress. (I LOVE Colette patterns by the way - all the mistakes that occured in the making of this dress are caused by me, and me alone). See how lovely and slimming it is on the model on the Colette website? Notice how they DIDN'T chose to make it in a baby wale pale blue corduroy (that I think looks ALOT like this....)


Being too eager for my own good, I made a broad shoulder adjustment to the bodice, which is probably NOT the thing to do with this kind of slashed neckline. You can see in the photo below that the neckline just sticks up off of my shoulders and into the air.

While I was at it, I also lengthened the bodice by 2" which proved to be far too much. The waist is now down by the top of my hips. Also, the front darts reach up way too high and I may as well applique some arrows on to the ends just to be sure that everyone knows that they are pointing straight at my nipples. Nice.


My thoughts :
Perhaps I cut a size too large? It's a bit loose.
Maybe my shoulders aren't as broad as I think they are? I did make a muslin and it seemed very tight across my shoulders and I did only widen them by 5/8" on each side.
There's no excuse for the very poor fabric choice. Must do better next time.

Have you made this dress? Care to offer any advicce?

Oh dear, I'm going to have to stop writing now. I can't bear to look at these photos any longer.

SHARE:

Snow capped toes?

If you're thinking that these shoes have seen better days, you'd be right. Actually they weren't worn for very long (about 6 weeks), but while I'm talking about them I may as well share that I was really disappointed in these Crocs. I usually love Crocs for my kids, especially the more common slip-on beachy shoes and I had high hopes for these when we bought them. My daughter wears a leg brace which extends from the ends of her toes to under her knee. She can't bend her ankle when she's wearing it and it's pretty bulky. This means that it's pretty hard trying to find shoes that fit her, especially since she only wears a brace on one leg. If they sold shoes with the left foot a size bigger than the right it would make my day!

Anyway, I typically buy her Converse style shoes because the laces start really low down and you can pull the tongue all the way out, open up the shoe and squeeze it on over the brace. It's a tight fit and this means that my daughter's shoes aren't expected to last very long because of the wear and tear. She only has one pair that she wears all the time and everywhere until it's worn out.

But, after a matter of about 2 weeks, these Crocs had already started to fall apart. In fact, the black strip that you see is missing on the right shoe above, fell off on the second day. The fabric has worn through on the sides and the sole of the heel is completely worn smooth. By comparison, the Converse boots I bought her to replace these Crocs have been worn everyday for about 4 months and are only now showing signs of needing to be replaced.

I'll be sticking with Converse shoes for her from now on, but it does annoy me when things you buy are a bit crappy (and the Crocs weren't cheap).

Anyway, we haven't completely thrown the Crocs away and I found them at the bottom of the shoes cubby and we thought they'd be an obliging guinea pig in our glittery experiment. I'm adding this project to my (very slim collection) Plaid Crafts Pinterest Board.

First, we sanded down the toes to make the surface slightly rough and to get off some of that dirt.

I taped along the edge of the toes to mask the cloth.

We (the kids) painted Mod Podge onto the white toes.

And we (I) sprinkled glitter over the glue.

We allowed it to dry for about 15 mins then applied another layer of glue and more glitter. We ended up doing 3 layers to get a nice thick coverage.

Some advice I had read recommended finishing the shoes with a finishing spray so that you don't lose all the glitter as you walk, run and jump. I found this unnecessary. We left to glue to completely dry and it became pretty solid and after shaking off the loose glitter, the rest stuck on nicely.

Here they are being modeled WITHOUT the leg brace. Nice for some fun running around time without the brace for a treat. My husband thinks it looks like her shoes are capped with snow. And he'd be right.


SHARE:

Double duty fridge magnets {tutorial}

You may not have heard of Plaid Enterprises, but it's the company behind some great products like Mod Podge and FolkArt, and if you are a crafter in the US, chances are you use some of their things. They are running a Pinterest contest for March (in celebration of National Craft Month). If you're interested, you can find all the details of the contest here.

They want to see your crafts that have been made using Plaid products so get crafting, put photos of what you make on a Pinterest board, and email the link to Plaid at paintmeplaid@gmail.com.

They have a great prize for the winning board, so get to it.

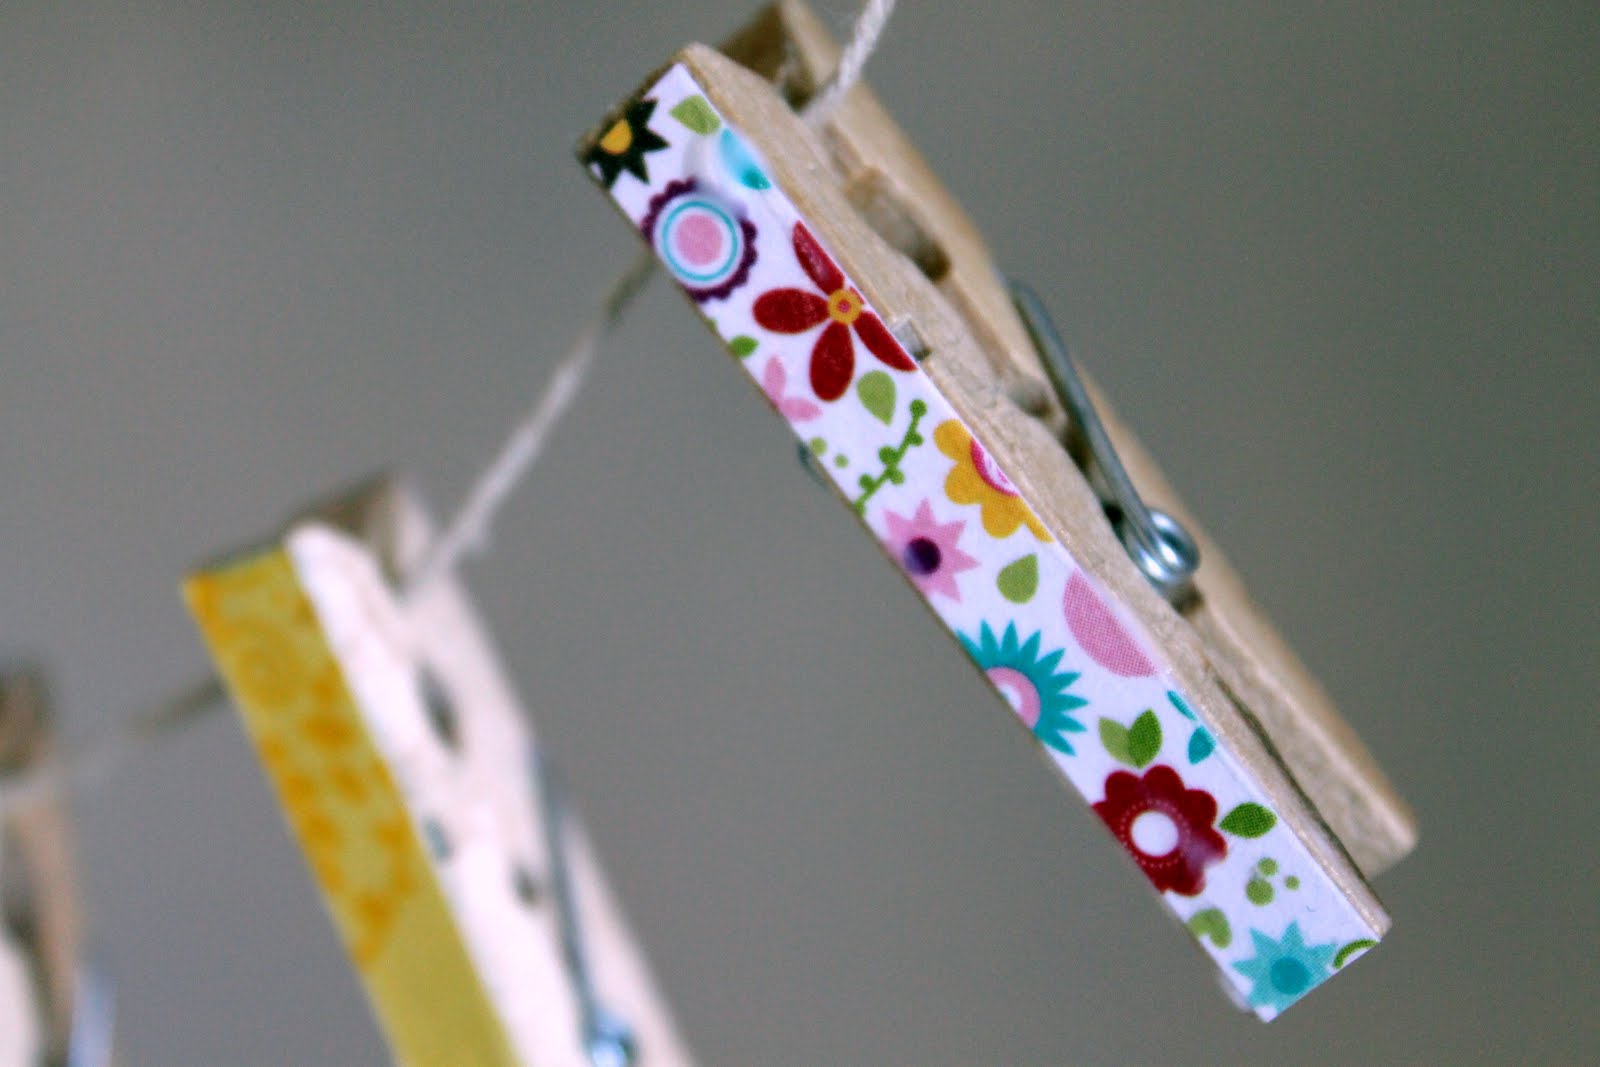
Here's some photos of a new spring set of refrigerator magnets I made a couple of days ago using Mod Podge, which are so easy I recommend giving them a go. These are a suped up version of a set I made a while back because these are double duty! I had a set of small clothes pegs (they look the same as the ones you use to hang out your laundry in these photos, but they are MUCH smaller than that).

First find out the size of the flat side of the pegs - do this by measuring or reading the packet! Cut some patterned paper the same size - 2 for each peg. My paper is by Bella Blvd.

I usually use a toothpick to apply Mod Podge to small areas. Put glue on both sides of the peg and adhere the paper. I also painted a coat of Mod Podge over the paper to seal it.

Hang them up to dry.
I then got some flat bottomed glass marbles and cut some pieces of decorative paper which I glued to the bottom. I used my Fiskars Poppy punch which was just the right size to fit behind my marbles. Lastly, I used my glue gun to stick the peg to the front of the glass marble and a tiny but mighty magnet to the back.

SHARE:

New house

Some friends of mine recently bought a person house and got this dollhouse with it. Luckily for me their two sons didn't really want it so they gave it to my 5 yr old! How lucky am I is she?!
I've never had a dollhouse this grand (and I've certainly never had a house this grand) and it's in pretty good shape. She's a real beauty.

There are 3 floors (plus a tiny attic room right at the top).


There are wooden floorboards on the spacious ground floor living area and it has beautifully tasteful wallpaper throughout. (Am I starting to sound like an estate agent?)

I think that with its little nooks and sloping ceilings, the third floor is my favorite and it makes me really wish I was 3 inches tall.

I'm looking forward to giving it some tlc and to bring a little life back into the old place.

Does anyone have any experience with dollhouses? I have found out this it was a kit by Duracraft, this model being the San Franciscan, but from what I can tell, the manufacturer isn't around anymore?!? I guess that if dollhouses are built to scale, I can get parts for it? The poor thing is missing a couple of doors and windows as well as the steps that lead to the front door. I'm also assuming that there were some staircases at one point too.

This thing is definitely going to be played with, so it's not going to have a showhome-type makeover, but it would be lovely to restore a bit of its former glory. And it's funny, but when I'm researching this house, all the images show the front rather than the inside at the back. Sure, the front is beautiful (and if you'd just spent months making the thing, that's what you'd want to be showing off) but for me, it's the inside that is the real treasure. My 10yr old self would have loved to arranged and rearranged the furniture (my husband would point out that I'm still doing that now). My 5yr old is so, so delighted with it.


SHARE:
© The Hello Beautiful Blog | All rights reserved.
Blogger Template Created by pipdig