Birthday Party Dress


My daughter will turn 7 later this summer, and she's up for wearing anything I make her (at the moment...) I sewed up the Oliver+S Birthday Party Dress this week. I bought it a while ago (I have the paper copy and I see that's it's now only available as a digital download) and I've finally got around to making it. It's completely adorable :)


She needed a summer dress AND something to wear on July 4th next week, so I killed two birds with one stone...

The gorgeous fabric is from the Ahoy Matey collection by Michael Miller Fabrics, which I've usually seen used for boy sewing projects, but it works equally well for girls in my opinion.


LOVE the tab detail over the box pleats down the center front of the dress.


The dress closures are at the back, with a line of buttons through the back placket. Though that means adult help is required when getting herself dressed in the mornings, I'm happy to oblige because she looks so cute! It's all worth it.

SHARE:

*Free* Craftsy class - zipper techniques

Oooh, I know you're going to love this!

Anyone who's keen to take the next step towards becoming a better seamstress really should watch this Craftsy mini-class, hosted by Sunni Standing.Sunni is the brains and talent behind the blog A Fashionable Stitch and let me tell you, she doesn't make up this sewing stuff as she goes along (like I do...ahem..shhh.....) she actually knows what she's doing!

And even if you're a pretty proficient seamstress, it doesn't hurt to spend a little time freshening up your skills, right? The beauty of this Craftsy mini-class is : 1. it is free. FREE! Worth repeating, I think you'll agree 2. you can watch the videos in your own time. 3. you can actually engage in chat and conversation with other community members AND interact with the teacher herself!

Go ahead and CLICK HERE to access the Mastering Zipper Techniques, sit back and enjoy :)


SHARE:

Handmade Stationery Set

Well, I'm just going to sneak back on here and carry on as if I hadn't been MIA for the last 6 months...do you think anyone would notice? Hmmm...probably not BUT in my defense, I have been up to all kinds of crazy this year! In terms of crafting, I've had many 'pinch me I must be dreaming' moments and to be honest, I feel that way about life in general too.

But I'm determined to get back on track a little here on my blog. I miss it! I miss having a little space I can natter on and just...be me.

Today, I'm sharing a fun little project I created for Fiskars a short while ago. Whilst I usually prefer to work with fabric and my sewing machine, stepping out of my comfort zone does me some good, every now and then. Do you feel like that?

I try to keep my paper crafting projects simple - mainly because I'm no expert - but also because I know that people like to be able to see something and just know how to replicate it. They don't always want to sit and read the instructions or directions (no matter how carefully I phrase my sentences or how long it takes me to chose just the right word...)

This would make a perfect gift, and it is in fact part of the handmade gift series I am currently working on for Fiskars. I've set myself the challenge of creating one handmade gift each month this year. I have had a few mishaps - not in terms of failing to create a project - but in terms of making a couple of things I love so much that I'll not be able to part with them. This is one of them....


It's a simple stationery set (not to be confused with stationary set, even though this little beauty isn't going anywhere).

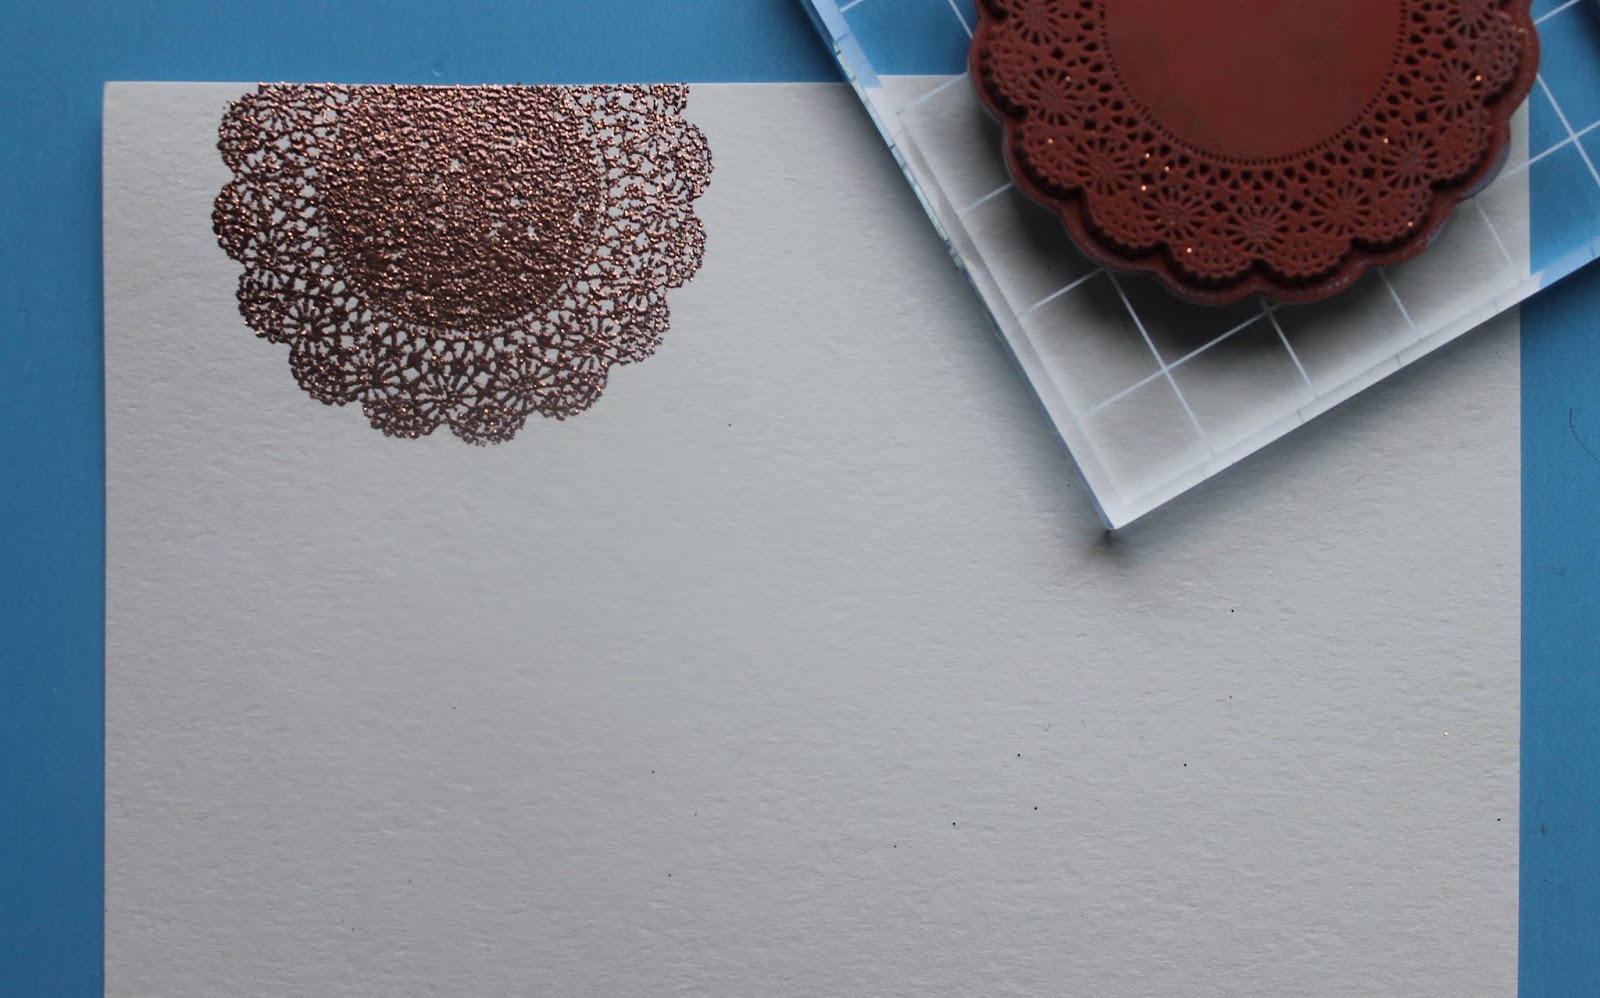
I used some regular, pretty stamps but instead of ink them with ink, I used embossing pad and sprinkled the surface with a metallic embossing powder. This was my first time trying this technique (and I'm not afraid to admit it) so if I can do it, you can too.


I finished off the little set with a brown paper, crunched-up flower (new official term) which is also super easy to make.

If you'd like to read my carefully worded and expertly phrased tutorial (even if I do say so myself), go ahead and click here.


It's good to be back!
SHARE:
Hello! You may have noticed I've not been posting here much this year. You can keep up with more of my crafting happenings over on my Facebook page : https://www.facebook.com/HelloBeautiful.page
SHARE:
© The Hello Beautiful Blog | All rights reserved.
Blogger Template Created by pipdig