Anyone else joining in with the
Hawthorn sewalong over at Colette Patterns? I'm quite pleased to be sewing along for once - usually I discover a sewalong just as it's drawing to an end, and though the info and photo directions remain extremely useful, it's a nice feeling to also be doing it in real time, along with others, too.
I've been working on perfecting the fit of my muslin. So far I've done a SBA (here's
the corresponding tutorial which has some amazing photos and very clear directions). In the photo of the muslin front below, you can see that the white fabric (on the left) is the section with the SBA and I think (even though I should have ironed out the dart before I took this photo) it has really helped to take out some of the excess fabric that you see on the right side of the bodice.
I assumed I was also going to have to make a
wide shoulder adjustment but reading the symptoms of wide shoulders, I have thinking otherwise. I don't have any tightness across the back of the bodice and the armholes seem to be fine. If anything, the back is a little loose but that might be because I've not sewn buttons or buttonholes onto my muslin, I've just pinned it together.
Which brings me to a good questions. Do YOU sew buttons and buttonholes to your muslins? It seems like the best way to get a proper fit, but it also requires an amount of patience and perfection I am not known to possess.
We'll see...
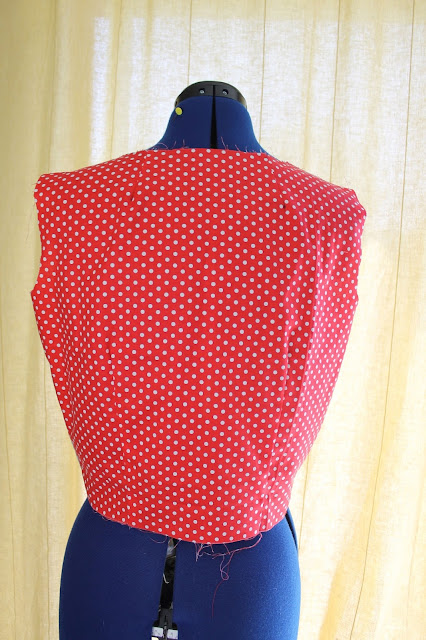 |
| Baggy back... |
 |
There's nothing like using up all those cotton scraps to make a patchwork muslin.
|


