New Year's Resolution JULY


You may be forgiven for thinking it's Halloween already, but no, that's just another photo of me looking like I hate having my photo taken and trying to pretend it's not happening. I'm just staring off into my happy place,  forcing myself to forget there's a lens right in front of me, making me feel all self-conscious and all.

If you'll ignore my messy hair and uncomfortable pose, you may notice my dress which I made as my part of my new year's resolution project I'm working on for Fiskars.

I used the Kimono Sleeve dress pattern by Salme Patterns. I don't see it in their store anymore and I'm not sure why. Fear not, they have quite a few other dress patterns (and other pretty clothing items too). I have made several - the patterns are super simple and very comfortable.

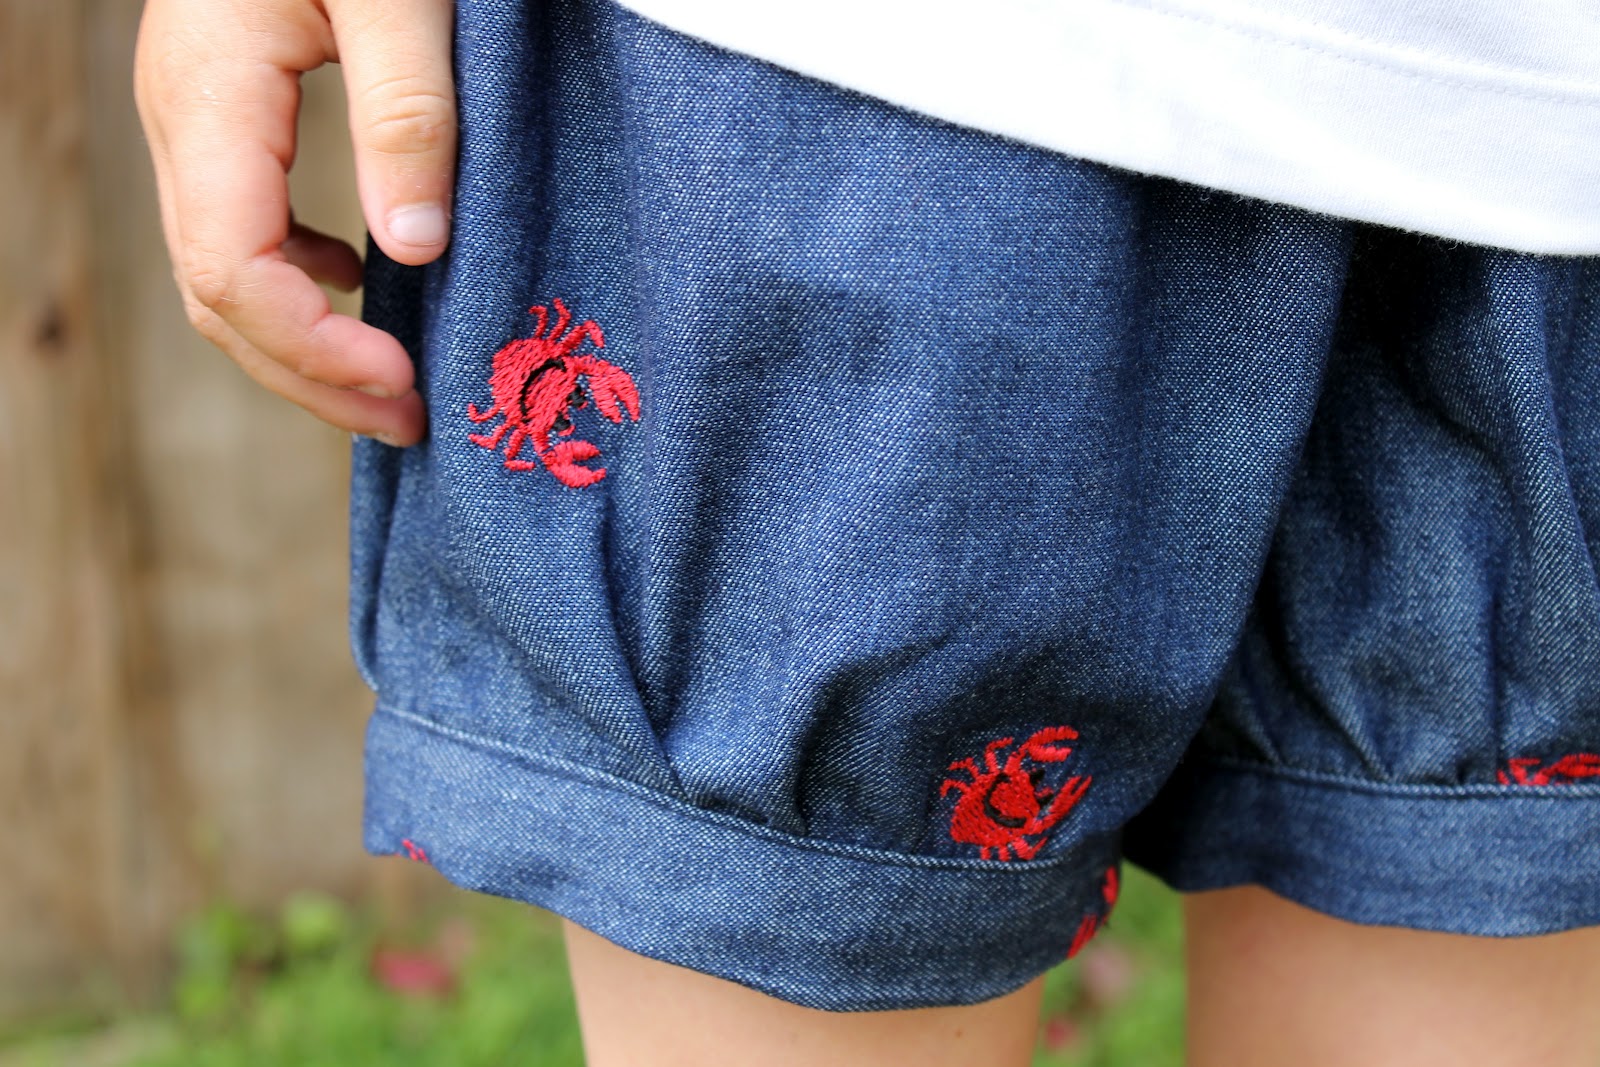
To cheer up the dark navy blue satin I used, I decided to make a large anchor applique on the skirt. Not sure why I happened to chose an anchor at random (I'm not a sailor but I DO live by the beach) but I love it! I think I'm going to use this applique technique on more clothing from now on.

You can read the full article over at Fiskars here.


On a related note, I attended a quilting class with my mum last week and we learnt to applique and reverse applique (using a completely different method than the one I used for this dress). Attending a sewing class was such a brilliant thing to do - I need to do it more often. That would be nice.

#sp
SHARE:

Time to sew {tutorial}

 My kids love making stuff - everything that involves glue, glitter, card or thread and they are happy. I'm sure many children are the same way. I made them this sewing kit at the beginning of the summer vacation, with the hopes that they'd be happy to dig into it as and when. With all the things they need at their disposal, they're happy just sitting quietly for a little while and get busy. I like to take a step back from whatever they get up to, so that I don't influence or impede their creativity.

This was a project I was paid to come up with for the Fiskars website and you can read all about it by clicking here.
This afternoon my 8yr old wanted to make a shirt for his extremely well-loved, and grubby, Piglet. So I had him draw a picture of what he wanted the finished thing to look like, before we drafted a little pattern.
Only my son knows why Piglet has an extra leg hanging out from under his shirt...

This isn't the best photo of the finished shirt but I LOVE that my 8yr old is so pleased with himself AND he's sitting in a large cardboard box. He hand stitched the shirt (but in fact we are going to go back over it on the machine because the stitches are a bit too loose) and it actually fits Piglet perfectly.

SHARE:

Making a waterproof washbag {tutorial}


I have a tutorial up over at Spoonflower this week that shows you how to make a waterproof washbag - perfect for your summer vacations. This thing is BIG, so you can throw all your stuff in and it has a nice wipe-down surface. I used a vinyl fuse which I adhered to the outside of my canvas fabric. You could put vinyl fuse on both sides for extra waterproofedness.  

I cut my pattern pieces before ironing on the fuse. If you're going to do something like this, I recommend investing in a teflon coated machine foot, which is great at sliding over tacky surfaces like laminates and oilcloths.

Go on over to read the full tutorial on making your own. The link is here.

Please note that whilst this vinyl fuse is great and amazing for many craft projects, it is NOT foodsafe and it is not recommended that you use if for anything that will be used for food.
SHARE:

Summer purse {tutorial}


Oooh, I made this bag last year as a project for Fiskars but it's a great summertime bag and I thought I'd share it with you in case you're looking for one to make for yourself or as a gift. This bag is really roomy - I even manage to fit my laptop in it - but the best thing about it is that it's reversible.


You can buy wooden handles very reasonably in stores or online or even better re-use a pair from an old bag from the thrift store.


Using different fabrics would really change the look of this bag but I really like this bright Echino fabric that's perfect for the summer. You can read the full tutorial by clicking here.

*I am PAID by Fiskars to produce content for their website.

SHARE:
Today I have the great honor of taking part in the shorts on the line series hosted this week by the lovely Rachael at imagine gnats. Please go on over and take a look if you have the time. You will find a wealth of inspiration and ideas for sewing up shorts this summer from so many corners of the internet.


shorts on the line button


I made a cute pair of crabby shorts for my sometimes crabby  little one.


SHARE:

Cathedral Windows Cushion


My mum is an amazing quilter. She's always been crafty but in recent years she's really become great at sewing up quilts. We have one of her handmade treasures on our bed, as do my kids on each of theirs, as well as my three siblings, their families and almost every man and his dog... Anyway, I'm not a quilter but she has exposed me to influences that I would not ordinarily come across in my creative environment and I really LOVED a Cathedral Windows pattern she sewed into a cushion a while ago. 

I wanted to try one of my own - at least it's not a quilt that would take me 3 years to complete.

Hers was a little more 'traditional' in style, but I wanted to make mine bold and bright. I really wish I had the time, energy and patience to make a quilt like this - it's so beautiful. I wonder how well is washes as a quilt?


I feel like I need a little more practice on my points - my mum is way more precise than me - everything she has made is perfect whereas mine is always a little more thrown together.


Don't look too closely. It's pretty though.
SHARE:

Basic chair cover {tutorial}


I'm always meeting people that either tell me they own a sewing machine and don't know how to use it OR that they can only sew in straight lines. Well, you can sew a lot of things using only straight lines and in all honesty, if you can thread your machine, cut fabric and sew a straight line, you can definitely sew curvy lines too.


This basic chair cover is a project I did for Fiskars a while back and I realized I hadn't posted it here yet.  It only requires straight lines and is perfect for a beginner because it makes a BIG impact. Obviously your chairs aren't necessarily the same size as mine, but I'll tell you which parts of your chair to measure and how to make a slip cover like this. What I like about my slip cover is that you can easily just change the organza tie and change the look for different seasons or holidays.

You can read the full tutorial by clicking here.


*I am paid by Fiskars to write projects, tutorials and articles. Just so you know...

SHARE:

Cool toy for kids

Our son turned 8 in June and I wanted to share a cool toy we bought him. He's a HUGE domino track/marble run enthusiast - he lives, breathes and thinks about them continually. My husband found this toy online - we don't have any association with them, I just wanted to write about it because I'm so impressed with it. It's called Contraptions by Keva.

Honestly, it's just a box of small wooden planks. They are all exactly the same size and width, but that's the cool thing about them. 


They come with a book of building techniques that you can incorporate into your own designs. It's not like a Lego book with step by step instructions, this is much more free form and fluid, leaving the 'builder' to really use their imaginations. My son has plenty of Lego sets and whilst they do have their benefits, he usually follows the directions TO THE LETTER and rarely strays from the 'rules'. He's very much a rule-follower.


He would never have come up with some of the ideas he has used using the Contraptions set, if he were using Legos. The photos below show some of the things he has thought of himself, unprompted.

Above is a marble race with two different starting points. The red ball and blue are racing each other to the end of the track.

Yes, this is a army guy strapped to a teck deck finger skateboard thing. Look how happy he is, waving on his way through his own personal skateboard track.


And yes, my son called this 'Mario Kart'.

Another marble run.

And steps for a domino track.

SHARE:

DIY fabric design

If you're new to this blog (and hello, if you are!) you may not know that I've been doing some work for Spoonflower involving simple fabric design with a big impact. I'm new to the concept of putting things on fabric, but I really love what I've been making so far.

These are my zipcode cushions made by using google maps to get a satellite image of where I'm from in England. Look how beautiful and green it is! A bit different to So Cal.... You can read about how to make something of your own special place by clicking here.

 
This week I made some tea towels using my late grandmother's handwritten recipes. These are made even more special because they are the only remaining examples of her handwriting we have left. I'd recognize her handwriting anywhere. It was so unique. Read about them here. 

You may or may not know that you can buy fabrics through Spoonflower that have been designed by actual professionals. Here I used their cotton/linen canvas to recover an old ottoman. Read about the transformation here. I did this about a month ago. It's so pretty it was hard letting the kids sit on it. The fabric I used is designed by Zesti

SHARE:

shorts on the line

Hi there, I'm Emma from the blog Hello Beautiful and I wanted to say thanks to Rachael and the other ladies for asking me to be involved with this shorts on the line series. Not only am I pretty excited to be on the bill with some very cool and inspiring bloggers, I also can't wait to see what YOU come up with. I'm spending the summer in England with sadly very little use for a pair of shorts but I can't wait to get back to Southern California where we'll be in shorts for the next few months.


I jumped at the chance to sew up these lovely Summer Place shorts by Maw Bell, available for purchase here at Sew Mama Sew for my almost 6 year old. I opted to use the 6 - 8 yr pattern (though it is also available in smaller sizes in a separate envelope) and I used a lovely lightweight denim I bought as a remnant from JoAnns  at the end of last summer. It has a little red crab embroidered design and has just the right crab/background ratio.


These shorts were super quick to sew up and as well as looking really lovely, they are comfortable and roomy enough for a girl who likes to run, jump, climb and generally be on the go from the moment she wakes up. The instructions are very well written and would make a great beginner's project or a simple sew for the more experiences seamstress. I think these took me just over an hour from start to finish.


I think the pockets are one of my favorite features of the shorts and I know these will get a lot of use. Surely I'm not the one with children who are obsessed with shoving things in their pockets?


I also really like the band around each leg of the shorts. I love how they hide all raw edges, but also the light gathering of the legs into the bands, produces a slightly billowy shape to the shorts which makes them so  completely adorable.


The elasticated waist is perfect for my little girl who really struggles with buttons and zippers. I have been using this bodkin to thread my elastic into casings over the last year (I had previously always used a large safety pin which was always a bit awkward and annoying) but this bodkin is such a joy to use. If you're likely to be making lots of elasticated waistbands, I highly recommend buying something like this - it'll cut down on your curse words - I promise.


The final stage, when you are sewing the waistband hole closed, is the perfect opportunity to add a little label or piece of ribbon. I think it gives a nice finish to handmade clothing and also helps a child put their clothes on the right way.


 Yep, pretty much loving the shorts. And the pockets.


SHARE:
© The Hello Beautiful Blog | All rights reserved.
Blogger Template Created by pipdig