
I have some gorgeous Graphic 45 paper from their Le Cirque collection and in an attempt to use every last minuscule piece, I decided to make some fridge magnets. My kids have been back at school just over a week and already my fridge in under siege, covered with school communications, lunch menus and not to mention, artwork. These magnets I have made are not only completely useful, but they are beautiful too!

You will need
Glass marbles (you can find these in the floral section of your craft store. People put them in vases for decoration).
Magnets - again, from the craft store.
Paper
Pencil
Scissors
Mod Podge (or any glue that dries clear)
Super glue

Draw around your glass marble onto the paper you want to use for your magnet and cut it out. All my marbles were slightly different shapes so I had make sure I kept track of which paper went with which marble.

Use a fine brush to coat the flat surface of the marble. Cover the surface completely and stick the paper on. I also covered the back of the paper with glue, once it was stuck onto the marble. It gives in an extra glaze and seal.

Allow the glue to dry. It WILL dry clear.


Once dry, stick the magnet onto the back of the paper. I used some kind of super glue I found at the bottom of my sewing box where all the weird and wonderful things are. Make sure you use this in a well ventilated space.
And that's all there is to it! I ended up with a lovely new set of fridge magnets.

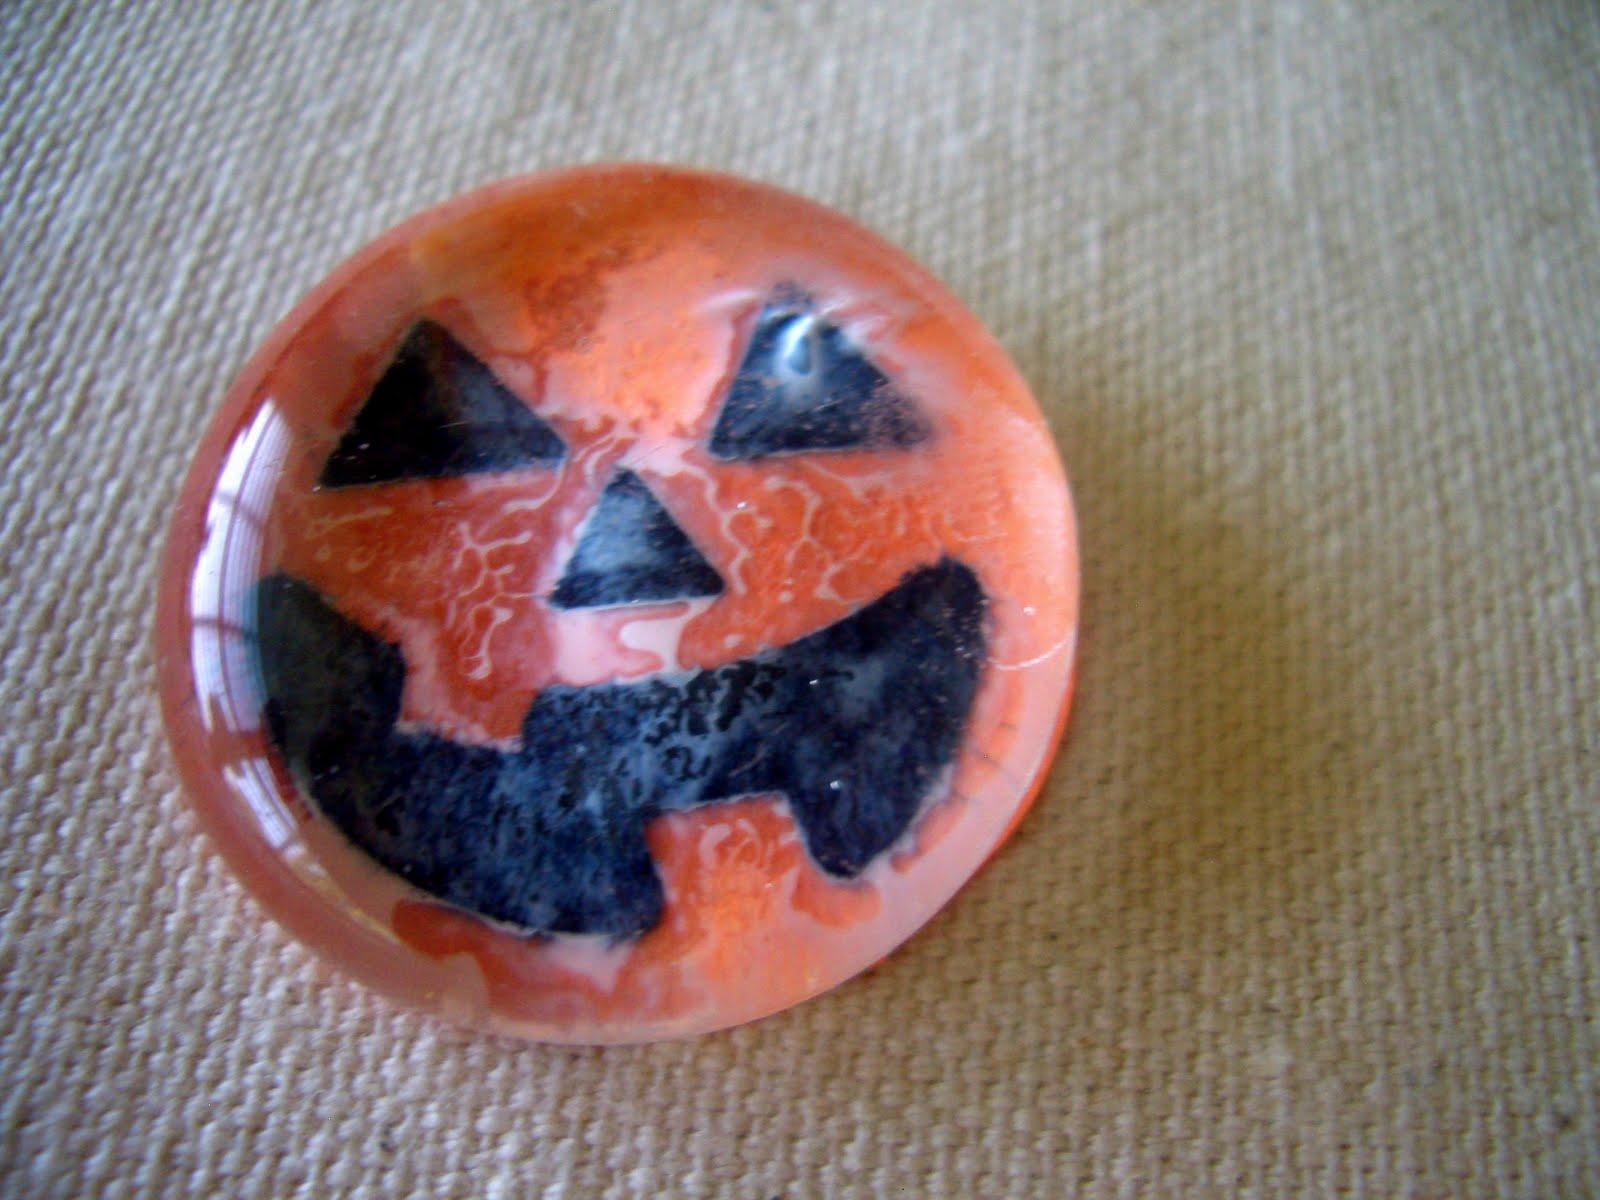
Oh, and did you happen to notice my Halloween magnets too? I couldn't just stop at one set, could I? I also used some of the Fiskars Seasonal Punches which were given to me a short time ago.

They were made in the same way as the Graphic45 set.

I drew around the shape of the marble and cut it out. Then I used the various seasonal punches to punch shapes and stuck these shapes onto the paper.

I then continued in the same way, and spread Mod Podge onto the flat surface of the marble (you can also use a toothpick instead of a brush).
After allowing it to dry, I used the superglue to stick on the magnet.
What ways do you find to use up tiny scraps you can't bear to waste? I'd love to hear your ideas. I am in possession of a few more scraps.
GREAT tutorial. I've done this with cool paper before. It's important that the "marbles" have a flat side.
ReplyDeleteI think your punches are a unique twist on this DIY. Thanks for sharing it.
So pretty! I bought these marbles before with the exact same intention, but never bought the glue or magnets... Still on my "future crafting" list!
ReplyDeleteThanks for the comment at my blog about the magnets I made - your comment about getting strong magnets made me giggle because I happened to have some super strong magnets which I thought I would try on these, and the magnets were so strong that for one, they could hardly be pulled off the fridge (kinda had to slide them off the edge!) and if you did pull them straight off, the magnet would stay on the fridge with the paper attached, and the marble itself would come off! Oooooops. So I had to buy some other magnets from Michael's - strong, but not TOO strong!
ReplyDeleteMy Modge Podge did not dry clear. I did my best to use as thin of a layer as possible. The paper was black with a white design on it. After putting the Modge Podge on the flat bottom of the marble, it turned a cloudy whitish color. I expected it to dry clear and look black again. After 24 hours it is still slightly white and cloudy looking. Do you know what went wrong?
ReplyDeleteI did this with Modge Podge and it did not dry clear. I did my best to only use a very thin layer of Modge Podge. The paper was black with a white pattern. At first it turned a whitish color and was cloudy. I thought it would dry and turn black again. It did not. Any suggestions on what may have gone wrong?
ReplyDelete